Showing posts with label DIY. Show all posts

Tuesday, September 4, 2012

What makes a man sexy?

Rachel Ray once said that "The most sexy thing a man can do is wash the dishes." I am not sure if there have been others saying this but I have always believed it. John, my sweet loving husband does the dishes often making him, in my eyes, the sexiest man in the world. But last weekend he did something else, that improved on his sexy and skyrocketed himself into the sexiest man in the galaxy!!

What did he do? One might ask how could someone gain such an elite status in one simple weekend? I'll tell you how..he fixed my house! XD Well, started to fix the house at least, and I HAVE PROOF!!!

His project was the back porch stairs. They needed to be moved from one end of the porch to the other and the ones that were there were all rotting and unstable, so finally...he fixed them. YEY!

Here he is after realizing that he needed 2, 5 tier risers and not 2, 4 tier risers. He had to go back to Lowes to get them. Which made him very happy indeed. ;-)


 Here John shows off his macho new sexy status. :-)

Always the comedian, John takes a moment to give a demonstration of what would happen if I tried to get up and down the stairs before he was done with them.

Yea yea, Har Har! :-P Yer loosing some of them sexy points there buck-o.

John displays his cat-like balance and climes the risers to get some more tools. (You can also see in the background of these last few shoots the frame work for the aviary. Another project just waiting for a influx of money to complete.)

The finished project...kinda. The two old boards there in the middle were the only two boards from the old steps not rotten through. They will be replaced with new boards once John has time to cut some more 2x4s.

Slow and steady, the house is coming together. Next project, ceiling fan in the kitchen!!!!

Tuesday, December 20, 2011

Insomnia

Insomnia if directed can be quite useful. Since I didn't sleep last night i got some house cleaning done along with some other needed to be done chores, including mixing more bird bread since this has become a regular staple.

Todays bread is strawberry banana. Its the same basic recipe as the birdie bread. (found under the recipe tab) Cornbread mix, eggs, apple juice, as a base then add in things your bird likes. I always add the 1/2 cup pellets, just so I know they are getting as much rounded nutrition as possible. Today I added in 1/2 cup frozen veggie mix, 3 large chopped strawberries and 2 large bananas. I like this base bread recipe, it's pretty cost effective and I can add what ever is in season or on the cheap at my local farmers market. Strawberries were a steal this week.

Last week I added sweet potato, zucchini, and grated carrots because thats what was in abundance and affordable at the farmers market. Keep in mind that the apple juice is "as needed" I did not need to add any with last weeks bread because zucchini and carrot are very watery.

So this afternoon the birds will have some nice fresh bread to munch on. That should keep them happy. Maybe I'll make up some rice for them too.

Tuesday, December 6, 2011

12 steps to Framing

How to frame a picture...

1. find the perfect frame and backing paper while out and about doing other things.

2. Come home remove backing and picture from frame. Making sure to carefully pry tacks as to not break glass.

3. Attach picture to backing paper and put into frame.

4. Hunt down a piece of cardboard for new backing.

5. Let husband bend tacks back into place.

6. Cringe when you hear the distinct *pop* of the glass breaking.

7. Go back to store and find another picture the same size as the last one. (there were only 3 left on the second store run, there were tons when I first bought the frame)

8. Pull out tacks on both frames to replace glass. :(

9. Find out there is no way to replace the tacks once you have the picture in.

10. Fret, worry, panic.

11. Rig something up and pray it works.

12. Attach miscellaneous gears and cogs to frame to complete Steampunk look.

So yea, it was an adventure in framing this weekend. The original pictures I took of course did not come out so I don't have any before and after shots of the project. I had to take the finished project outside to get a good picture so here it is.


Outside the background looks very blue, it isn't, it is actually a beautiful green. You can see the original picture in this post here.

The close up pictures of the corners came out blurry but you'll get the idea.


As you can see, kinda, there is a clock face with some cogs and gears in the upper right corner and some spoke-like wheels and a gear in the bottom left corner.


I really love the Victorian-esq backing paper. The darkness of it really makes the art pop in my opinion. What do you guys think?

Monday, November 28, 2011

DIY Wild Bird Suet feeder

You will need:
Twine
Tinfoil
Fat/grease IE bacon or hamburger grease works great.
Scissors
Various sized containers (Any kind of storage containers will do.)
Bird seed and other treats (dried fruit works well)

Directions:

Mold a piece of tin foil to fit in the bottom and up the sides of your container, then remove it and poke a hole through the center. Tie a knot in a piece of twine and feed it through the hole from bottom to top. (Cut the twine long you will be using it to hang up your treats when they are done.) The knot should be resting on the bottom of the foil. Put the foil back into the container. The purpose of the foil is to make removal of the treat easier when it's done.

Melt your grease/fat in a saucepan over a low heat. When it is completely liquid remove from heat and stir in your seed and any other treats. Mix well and spoon into containers. Once done the twine should be sticking out of each container like a candle wick.

Refrigerate about an hour or two depending on the size of the treat. Freeze any extra that you will not be using right away. Pull Suet from container by the tinfoil carefully. If the mixture is still soft put back in the fridge or in the freezer until firm enough to hold it's shape. Once the Suet is removed, peal away the tinfoil and hang the treat in a tree for the wild birds to snack on.

Monday, November 7, 2011

Better late then Never! DIY Preening Toy

I apologize for the lateness of this post. I have been feeling a bit under the weather all day and just could not get motivated to write this up until now.


For those of us that have only a single bird, or a bird that has not paired off, we find that when they molt they start to look ragged with pin feathers sticking up all over their head and neck. Pin feathers in those areas are usually groomed by another bird, one of the reasons birds are so social. Now I have the problem where even some of the birds who like being handled do not like to have their head scratched. This can cause a problem with grooming, since the cant reach those itchy pin feathers, so some may start to pluck. This toy can be made as large or as small as you need it to be. Use your own judgment for the size of your bird.

DIY Preening Toy

Need:
Sisal rope
D-ring
Scissors

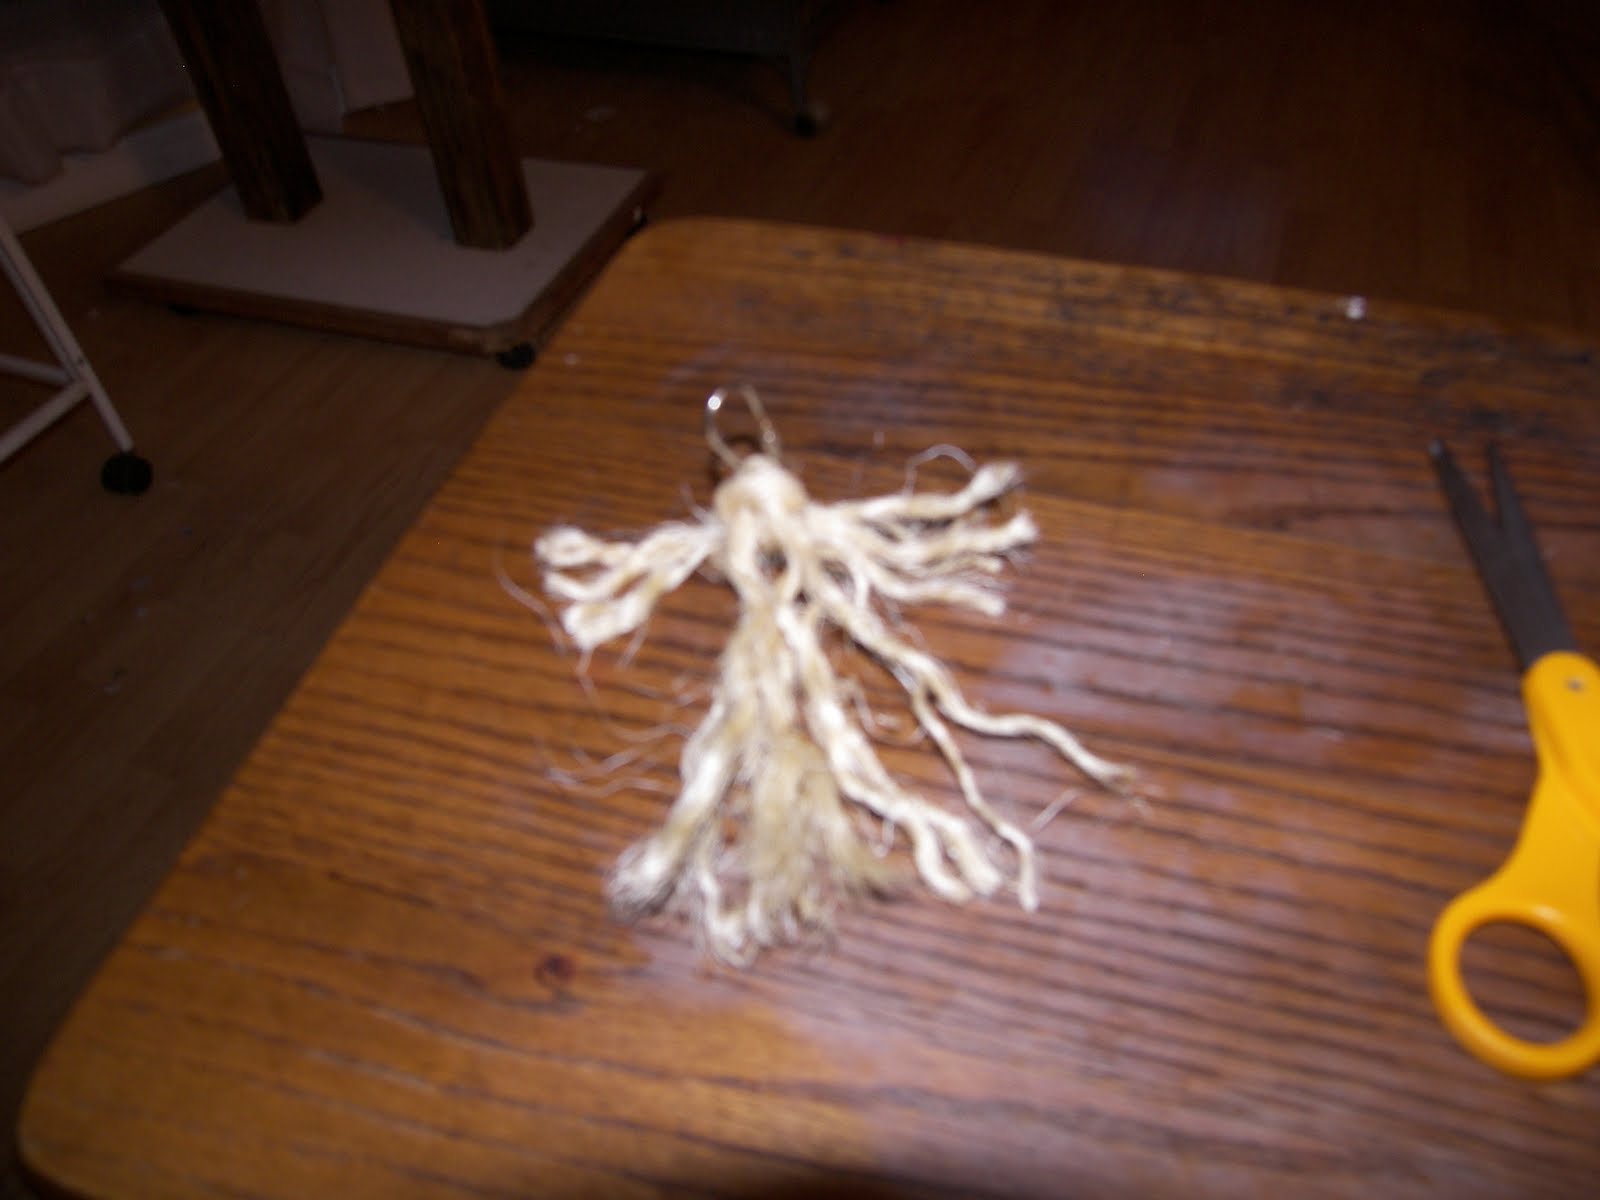
Cut a few lengths of rope ruffly the length of your bird. Thread them threw your D-ring and fold in half, so the ring is in the middle of the rope. Cut another shorter rope and tie the ropes together with it.


I only used one piece of rope for the toy because all I had handy was a very small d-ring.


As you see I tied the smaller piece around the larger one securing it in place. Since the bird this toy is for is small I just used a simple square knot to secure the rope. For a larger parrot that might enjoy undoing the knot, you may want to use either a different type of knot or some wire wrapping techniques instead.


Still stage two just a different angle.

Last thing you do is unravel all the rope ends and trim to the size you want. Sisal is course and stiff, perfect for them to preen on and rub against, think of it as a small whisk broom.


I left this toy in different stages of unraveled. This will hopefully entice the bird in question to attempt to finish the job and encourage her to use the toy.

Monday, October 31, 2011

DIY: Birdie Bread

Ingredients:
2 box/bag Corn bread mix
2 Egg with the shell, (wash eggs)
3 bananas, mashed
1 cup bird pellets ground up (I use Zupreem for Cockatiels, the pellets are very small so no need to grind them)
1/2 cup chopped nuts
1/2 cup frozen veggies
1 cup apple juice

Preheat oven to 375F
Mix all the dry ingredients together. Add eggs, bananas and vegetables. Add apple juice as needed. Should be the consistency of cake batter. Spray your pan with nonstick vegetable spray and pour in mixture.

Bake for 35-45 minutes, Test with toothpick. When toothpick comes out clean it is done.

Cool until room temperature. Cut into serving size squares for your individual birds and serve. Bread can be frozen, if kept in refrigerator it has a shelf life of 3 days.

*Recipe found in The healthy Bird Cookbook by Robin Deutsch

Monday, October 24, 2011

DIY: Dying Sticks & Wirlygig

Dyeing Popsicle sticks is a little different then dying regular blocks. First, you don't need as much liquid. Second, you need something flat to dye in,(like a pie pan) not like blocks where a cup will do.

Basically you use enough rubbing alcohol to cover the bottom of your dish, then add your food coloring until you get the desired color. You will have to stir in the food coloring because most of the time it does not mix on it's own.

Here is my set up.


Don't forget the newspaper, and learn from my mistake, use LOTS of newspaper. I only used 2 sheets folded in half and it bleed through to the counter top. :(


3 of the 4 colors I did last night. Remember, your sticks always come out lighter then your dye. Also if your dying a lighter color, like the green I used, you will have to use a whole lot of coloring to get anything decent.


Most colors, like the blue and reds that I did, (red not shown here sorry) only need to be dipped in for a moment, others like the green and the purple for some reason I had to leave for 5 to 15 mins to get a nice color going.

Like the blocks I let these sit until they were fully dry plus about 3 hrs to let the rubbing alcohol smell dissipate.

The Wirlygig

The size of your bird will determine how big you want to make this toy. I made this one for a small Peach Conure so I only used 24 sticks and 2 wood blocks.

Things you need:
Popsicle sticks
String or bailing wire
1 D ring
Scissors or Needle nose pliers (depending on if you are using string or wire.)
Drill
2 wood blocks

Drill a hole in the center of all your sticks. Don't worry too much if all the holes don't line up straight. You will be fanning the sticks out when your done and honestly, the birds really don't care if your toy is perfect. ;)


Thread your sticks onto your wire or string. I used wire here, but string is simple, just knot your end a few times and slide all your sticks onto it.


Use your pliers to make loops in both ends of your wire.


Now to cover your wire ends use your pliers to squeeze the loop, making it thinner and slip a wooden block over it, then using your pliers open the loop back up so the block does not move. Put a d-ring threw one loop, fan out your sticks and your done!


Sorry about the blurry pictures. It's hard to take a picture of something your holding. :)

Monday, October 17, 2011

Gooey Bananas

Warning, this stuff makes a mess. I only make it for the birds when I have the time to clean up when they are done. They love this stuff.

Gooey Bananas

Needed:
1 peeled Banana
2 table spoons peanut butter, (crunchy or creamy)
1/2 cup unsalted chopped nuts (any kind will do as long as they are unsalted)
4 Popsicle sticks (or non pointy stick of any sort to use as a handle.)

Microwave peanut butter for about 1 min or until melted. Cut the banana into quarters and slide each quarter onto a stick, then coat with peanut butter. Roll Banana into chopped nuts.

I leave the sticks in when I give them to the birds, this way they can hold the stick and not the gooey banana. Like I said before, this is messy, so be prepared to clean up once they are done.

Monday, October 10, 2011

DIY Dying blocks/easy swing perch

Dyeing
Dyeing your own blocks is really easy and inexpensive. Here is what you'll need.

Food coloring
70% alcohol (The over the counter rubbing alcohol works beautifully.)
Wood blocks
Cup or glass
Newspaper or some kind of cloth to work on

I used 1/2 a cup of Alcohol and 1 tablespoon of food coloring(red) and mixed them in a cup. Then I dunked the blocks in and stirred them for a moment in the liquid. When they were coated I pulled them out with the spoon and let them dry on a layer of news paper. They dried very quickly but I left them over night anyway.


The next morning they no longer smelled like rubbing alcohol and were ready to use.

Perch Swing

1 wooden dowel (I used an old perch)
2 equal lengths of rope
Assorted blocks and beads
2 d-rings


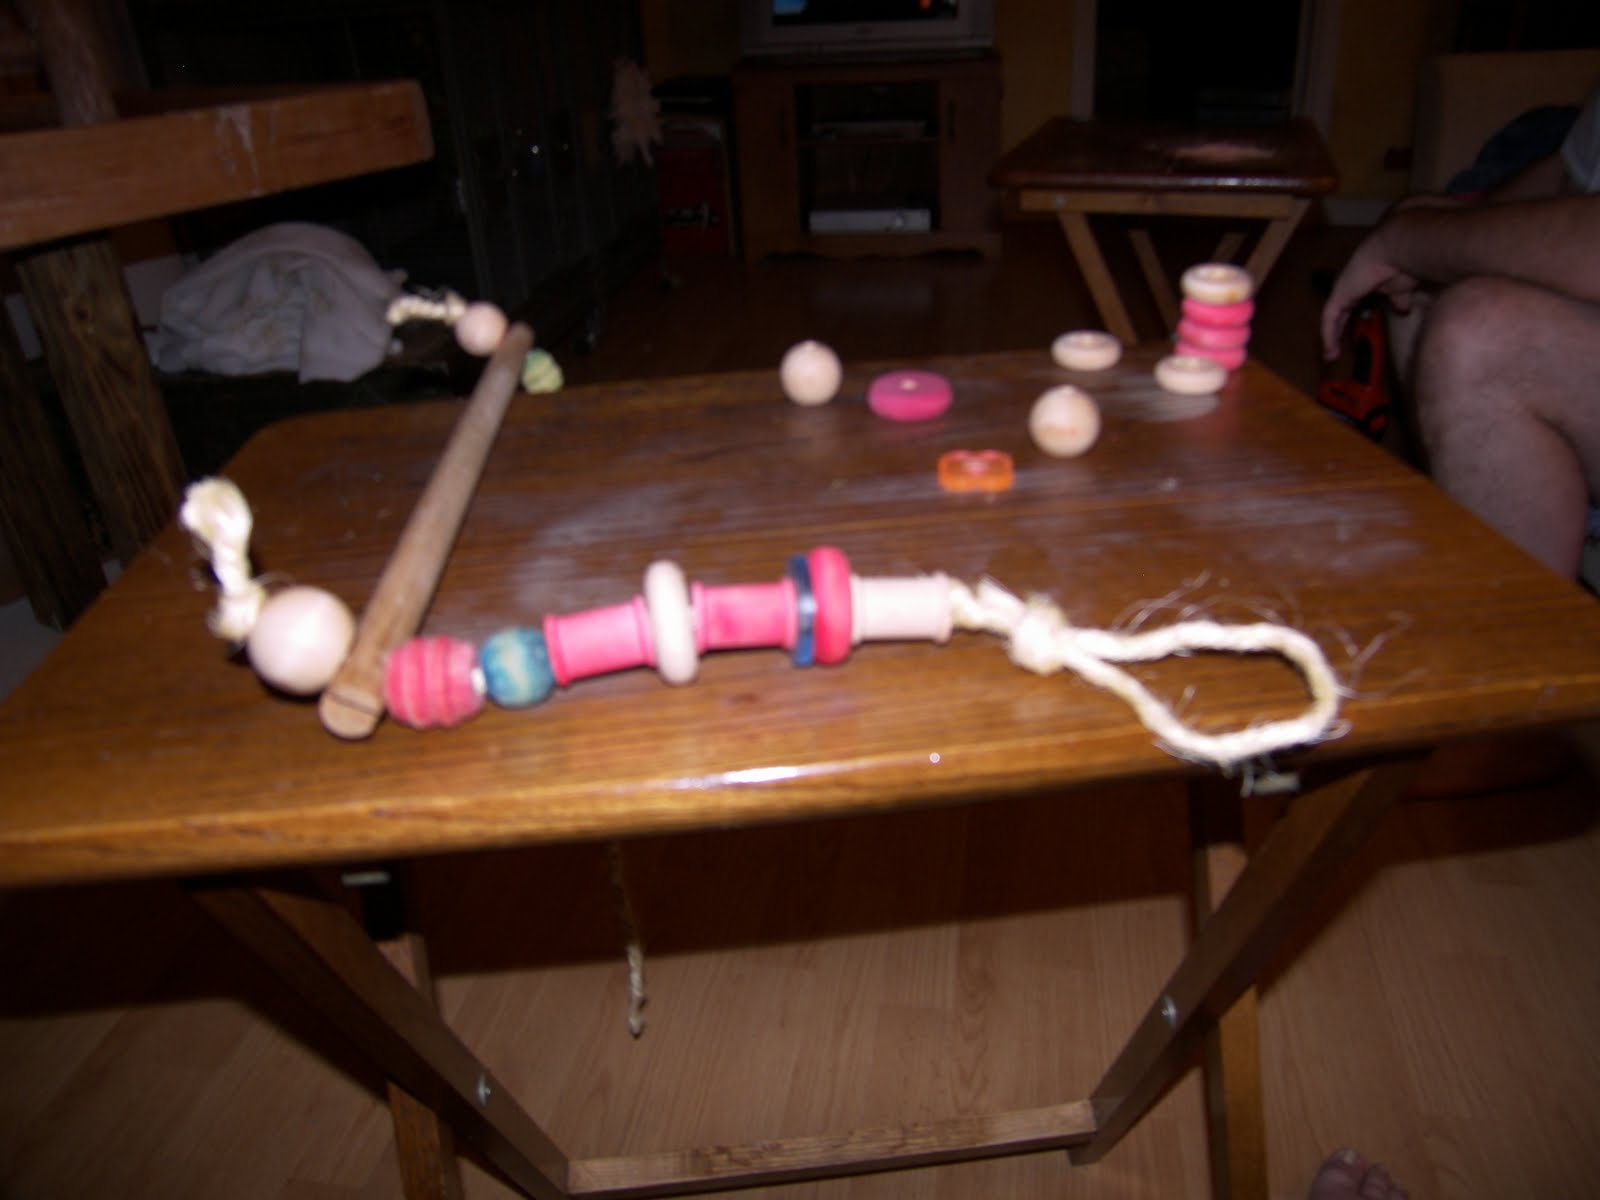
Drill a hole on each end of your perch.

Take your rope and knot one end of each piece. Try to make the knots approximately the same length from the bottom. Slide a bead or block onto each piece of rope pressing snuggly against the knot.

Slide one rope threw each side of the perch, again pushing down gently against the bead. (This helps make sure the knots are tight.)


Fill the rest of the rope on each side with beads and blocks. Keep them even.
(I filled mine a little over half way.) Then tie a loop in the end of the rope.


After both sides are complete use 2 of the same size d-rings to attach to the cage. My birds love it.

Monday, October 3, 2011

Pizza night

Parrot Pizza

Ingredients

Rice cake, plain (low salt/low sugar)
1or 2 tbs of either tomato sauce or peanut butter
Copped/grated veggies and nuts

Take a rice cake and spread either tomato sauce or peanut butter on top. Then add your birds favorite veggies and nuts. Example: grated zucchini and carrots with some finely chopped walnuts.

Be creative. Use your birds favorite foods and add some that they haven't had before. For instance, my cockatoo's favorite food is broccoli but she is not super fond of carrots. I grate the carrots very finely but chop the broccoli in larger chunks. This way I can hide the carrot under the broccoli and she knows no different.

You can also use a bagel or even toast instead of a rice cake, use what you have handy.

Hint: for smaller birds cut the rice cake into quarters for easier management.

Refrigerate any left over pizza until ready to serve.

Monday, September 26, 2011

DIY Toy basics

Lets face it, bird toys are expensive, yet we must keep our birds entertained, so that leaves us with two choices. 1. Break the bank and buy these uber expensive toys, or 2. Make our own.

The first rule of toy making is,
Save everything. Every chewed block from the toys they already have, every chain, rope, and d-ring should be horded for future toys. You never know what will come in handy later. We have a large box filled with trashed toy scraps that we go through when we build new toys, it saves us a bundle.

Materials:
Wood is an important aspect of bird toys, birds love to chew on wood so make sure you use untreated pine for your toys. Other woods and treated woods can harm your bird.

Rope or chain are good ways to work your wood blocks together. If you use chain make sure the links are not so small that your bird can get his toe stuck inside a link, also if you have a smaller bird make sure the links are not to big where the bird might get his head stuck. If you opt for rope, untreated cotton or sisal ropes are a good choice, both can be found at the local hardware stores. (Some Sisal rope is treated with oil, read the package and when all else fails smell it, if you smell anything put it back and find something else.)

Beads can be fun for birds as well, but watch that you use a bead that is appropriate for your bird. You would not want to use small plastic beads for a Macaw or Amazon toy, the bird can/will break them and could swallow them.

If you want to dye your blocks of wood an efficient and inexpensive way is to use equal parts food coloring and rubbing alcohol. Just one dunk in the mixture will give your wood a rich color and the rubbing alcohol lends to quick drying.

The Wiffle Ball

Materials:
1 Wiffle ball (You can get these for a buck at any dollar store.)
Rope
chain
Wooden blocks
Plastic beads if you have them
D-ring
2 O-rings


For this toy I used a large Wiffle ball for my Cockatoo. First I took a section of chain and 2 O-rings and set them through the center.


Now, take the wiffle ball and thread different lengths of rope through the holes. I used sisal, which can be scratchy so you may want to wear gloves when you work with it. Slide blocks and beads onto each end knotting the rope beneath them. If you have the issue I have with knots being too loose Hold the knot firmly in your hand and pull down hard. Your loose knot should tighten nicely.


Trim any frayed edges and hook a d-ring to one of the O-rings in the center chain and you are done. If using cotton rope be sure to watch the fraying, keep it trimmed so your bird doesn't get his foot or toes tangled in it.


All the materials other then the rope were from old toys that my birds had already destroyed. You can pay upwards of $30 for a similar toy in the pet store.

Monday, September 19, 2011

DIY Mondays

Since I talked before about the expense of birds, I thought today I would talk about how to save a little money. In fact I have decided to make Monday posts, DIY Mondays.

Bird food is pricey, bird treats are even more expensive for less quantity. So how do we treat our birds with out breaking the bank? Well here are two sure fire ways to treat your parrot.

Bagel Treats

Need:
½ Bagel (stale bagels are fine as long as they have no mold on them)
Peanut Butter (creamy is the best)
Parrot Seed (approx 1/4 cup or so depending)
Plate (paper works great)

Take half a bagel (mini bagel for smaller birds) spread peanut butter over it (creamy is best) and stick some of their seed into the peanut butter. I usually use a paper plate with a cup of seed on it and press the bagel PB side down into the seed to make a few of these rather quickly. Then hang the bagel treat from the top of the cage with string or rope. Use a slip knot method for this, double strands of rope, chain, string etc. can cause a bird to strangle themselves when they twist around on the toy.

This can also be done for wild birds using wild bird seed and hung from a tree branch.

Peanut Butter Balls

Need:
½ cup Peanut Butter (creamy)
¾ cup Parrot Seed
Cookie Sheet
Wax paper

Another inexpensive treat mix about ½ a cup of peanut butter with about ¾ cup bird seed. Stir the sticky mess thoroughly adding more peanut butter if needed. Take a cookie sheet and cover it with wax paper. Roll the PB and seed mixture into small balls and place on the cookie sheet then place sheet into the freezer. Let freeze for about 30 mins to an hour, the mixture should no longer be sticky allowing you to easily remove them from the wax paper and distribute to your parrot. Store left overs in the freezer until needed.


If you have any DIY treat recipes you use for your birds, let us know!